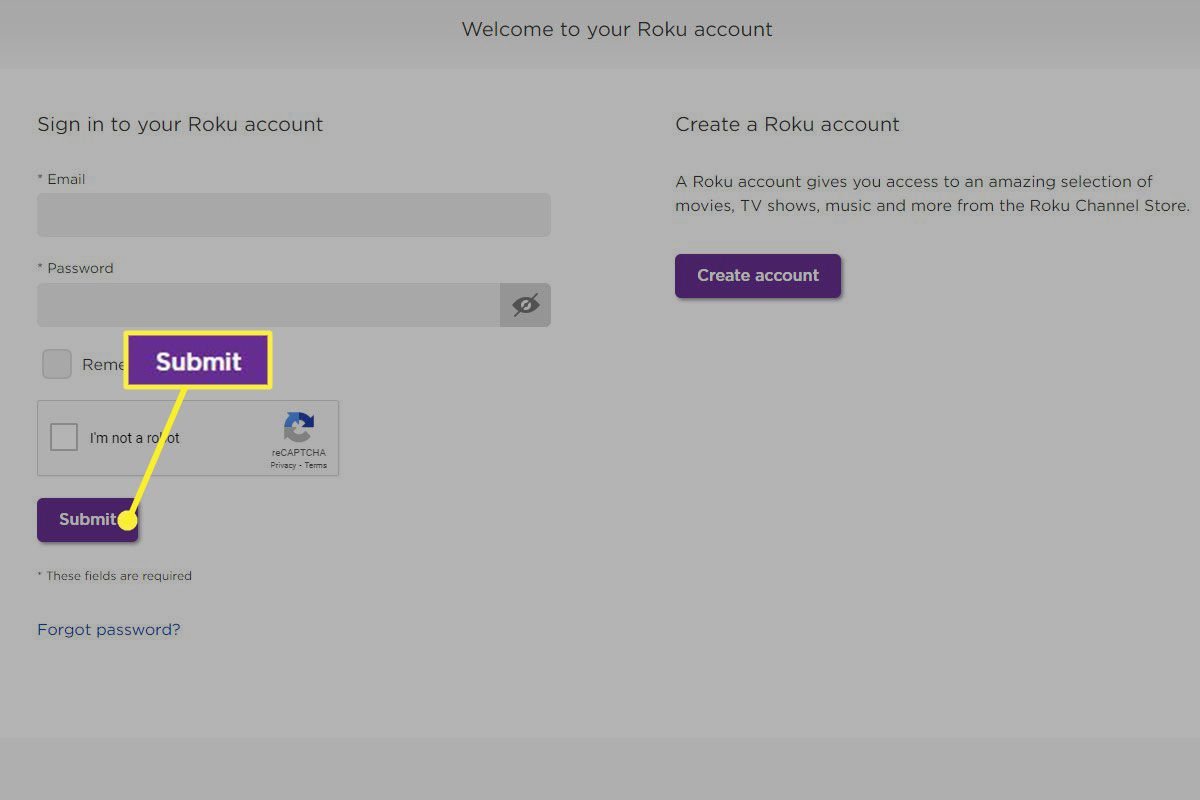
Tired of subscription creep? That recurring charge for a service you barely use can feel like a tiny leak draining your wallet. If you're looking to cut ties with a streaming service you signed up for through your Roku device, you've come to the right place. This guide will walk you through how to cancel Roku-billed subscriptions directly on your device, making the process as straightforward as possible. No more digging through confusing menus or chasing down customer service—just clear, actionable steps to regain control of your digital budget.
At a Glance: Your Quick Cancellation Checklist
- Confirm Roku Billing: Before anything else, check your bank statement. Does it say "Roku" for the charge? If not, you'll need to cancel directly with the service provider (e.g., Netflix, Hulu).
- "Turn Off Auto-Renew" is the Term: Roku doesn't use "cancel." You'll select "Turn Off Auto-Renew," which stops future payments.
- Service Continues: Even after turning off auto-renew, you can typically use the service until your current billing period ends.
- No Refunds: Roku generally doesn't offer refunds for partially used subscription periods.
- Two Paths: You can cancel either directly from your Roku device or through the Roku website.
Before You Begin: Is Roku Really Billing You? The Critical First Step
Imagine trying to return a sweater to the wrong store. Frustrating, right? The same goes for subscriptions. The absolute first thing you need to do is confirm that Roku is indeed the one charging you. Many streaming services offer direct subscriptions, even if you watch them on your Roku.
How to Check:
Pull up your bank or credit card statement. Look for the specific charge you want to stop.
- If the charge clearly states "Roku," "Roku.com," or similar, then Roku is your billing intermediary. You're in the right place, and the steps below will work for you.
- If the charge shows the service provider's name directly (e.g., "Hulu," "Paramount+," "Max"), then you need to cancel that subscription directly with the service provider themselves, not through Roku.
- Still unsure? Log into your Roku account on Roku.com and navigate to "My Subscriptions" (we'll cover this in more detail later). This is the definitive source for any subscriptions Roku bills you for. For a more general overview, check out our guide on how to cancel Roku subscriptions.
Understanding this distinction is key to avoiding wasted time and ensuring you effectively stop unwanted charges. Now, let's dive into the practical steps.
Streamlined Cancellation: Your Roku Remote Is Your Best Friend
For many users, canceling directly from the device they watch on is the most convenient method. Roku has made this process surprisingly intuitive, leveraging the familiar interface you use every day. Think of your remote as your personal subscription manager.
Step-by-Step: Canceling a Roku-Billed Subscription Directly on Your TV or Streaming Stick
This method is quick and ideal if you're already settled on the couch, contemplating which service to trim from your lineup.
- Navigate to the Roku Home Screen: Press the "Home" button on your Roku remote. This will take you to your main channel grid.
- Find the Channel You Want to Cancel: Scroll through your installed channels (apps) and highlight the one associated with the subscription you wish to terminate. Do not open the channel. Just make sure its icon is highlighted.
- Journalist's Tip: Sometimes people get confused and try to find a "manage subscription" option inside the channel itself. For Roku-billed subscriptions, the magic happens from the Home screen.
- Press the Star (*) Button on Your Remote: With the channel highlighted, press the star-shaped button (often labeled with an asterisk) on your Roku remote. This button is your gateway to a contextual menu for that specific channel.
- Select "Manage Subscription" from the Menu: A pop-up menu will appear on your screen. Scroll down and choose the option that says "Manage Subscription."
- Choose "Turn Off Auto-Renew": Within the "Manage Subscription" screen, you'll see details about your current subscription, including the next billing date. Select "Turn Off Auto-Renew."
- Crucial Clarity: Roku explicitly uses "Turn Off Auto-Renew" rather than "cancel" to signify that you're stopping future payments, but your access continues until the current billing cycle ends.
- Confirm Your Choice: Roku will usually ask you to confirm your decision, sometimes even presenting reasons for canceling to gather feedback. Select "Confirm Changes" or a similar option to finalize the process.
That's it! You've successfully stopped the automatic renewal for that Roku-billed subscription. You should see a confirmation message, and the "Manage Subscription" screen will reflect that auto-renew is now off. To review all your Roku subscriptions or double-check their status, you can always visit the Roku website.
Prefer the Web? Managing Subscriptions Through Your Roku Account
Sometimes, sitting down at a computer or tablet offers a clearer view of all your subscriptions. Roku also provides a robust web portal where you can manage your billed services. This is especially helpful if you're managing multiple subscriptions or if your Roku remote is currently playing hide-and-seek.
A Walkthrough: Canceling Roku Subscriptions Online
This method gives you a centralized hub to oversee all your Roku-billed services.
- Go to Roku.com and Sign In: Open your web browser and navigate to Roku's official website. Click on the "Sign In" option, usually found in the top right corner, and enter your Roku account credentials.
- Access "My Account": Once logged in, click on the profile icon or menu button (often represented by three horizontal lines) and select "My Account" from the dropdown menu.
- Scroll to "My Subscriptions" and Select "Manage Subscriptions": On your "My Account" page, you'll find various settings and information. Look for a section titled "My Subscriptions." Underneath this, click on "Manage Subscriptions." This page lists every subscription you're currently paying for through Roku.
- Benefit-driven: This page is your digital dashboard for manage Roku subscriptions directly billed by Roku. It’s a great place for a quarterly review of all your services.
- Find the Desired Subscription and Click "Turn Off Auto-Renew": Browse through your list of active subscriptions. Once you locate the one you want to cancel, you'll see an option (often a button or link) that says "Turn Off Auto-Renew" next to it. Click this.
- Confirm the Cancellation: Roku will ask for confirmation, possibly prompting you to select a reason for canceling. Click "Confirm Changes" or a similar button to finalize the non-renewal.
- Verify Auto-Renew is Off: After confirmation, the "Manage Subscriptions" page will update. You should see that auto-renew is now off for that particular service, and it will often display the date until which you still have access.
And there you have it! Your subscription will no longer automatically renew after its current billing cycle.
Understanding "Turn Off Auto-Renew": It's Not Quite Goodbye (Yet)
Roku's terminology, "Turn Off Auto-Renew," is precise and important to grasp. When you choose this option, you are not immediately terminating your service. Instead, you are instructing Roku not to charge you again when your current billing period ends.
Here's what that means for you:
- Continued Access: You retain full access to the streaming service for the remainder of the period you've already paid for. If your billing cycle runs until the 15th of the month and you "Turn Off Auto-Renew" on the 5th, you can still watch content on that service until the 15th.
- No Prorated Refunds: Because you continue to have access for the full paid period, Roku (like most subscription services) does not issue refunds for any unused portion of a partially-used subscription. So, if you cancel on day 5 of a 30-day cycle, you won't get 25 days' worth of your money back.
- No Accidental Re-Subscriptions: Once auto-renew is off, you won't be charged again unless you actively decide to re-subscribe. This provides a clear break and prevents those sneaky recurring charges you forgot about.
This model is standard across many digital subscription platforms. It's designed to give you maximum use of what you've paid for while allowing you to easily stop future billing. If you ever need to reactivate a service, you can usually do so directly from the channel or through your Roku account. Knowing these details helps you effectively manage your Roku subscriptions.
What Happens After You "Turn Off Auto-Renew"?
Once you've followed the steps above and confirmed you want to "Turn Off Auto-Renew," the gears start turning behind the scenes. Here's what you can expect:
- Immediate Confirmation: Both on your device and on the Roku website, you'll typically receive an instant confirmation that auto-renew has been disabled. This message might also state the exact date your access to the service will end.
- Service Remains Active: As mentioned, you can continue to enjoy the subscription service without interruption until the end of your current billing cycle. Think of it as a pre-paid pass; you've simply chosen not to buy another one.
- No Further Charges (Unless You Change Your Mind): Your credit card linked to your Roku account will not be billed for that particular subscription after the current period concludes. If you decide you miss the service, you can re-subscribe at any time.
- Subscription Status Update: If you revisit the "Manage Subscriptions" section on your Roku device or website, the status for that channel will clearly indicate that auto-renew is off, and it may even say "Expires on [Date]" instead of "Renews on [Date]." This is your assurance that the cancellation is in effect for your your Roku subscriptions.
It's a straightforward process designed to give you peace of mind and control.
Common Questions & Troubleshooting Your Roku Subscriptions
Even with clear instructions, questions can pop up. Here are answers to some of the most frequent queries and common troubleshooting tips related to managing your Roku subscriptions.
My bank statement doesn't show "Roku." Now what?
This is the most common point of confusion. If your bank statement shows a direct charge from "Hulu," "Paramount+," "Max," or any other service name without "Roku" attached, it means you subscribed directly through that service provider, not through Roku.
Your Action: You must go to the website or app of that specific service provider (e.g., hulu.com, paramountplus.com) and log in to manage or cancel your subscription there. Roku cannot cancel services it doesn't bill you for.
Can I get a refund for a partially used subscription?
Generally, no. As outlined in Roku's terms, when you "Turn Off Auto-Renew," you stop future payments, but you retain access to the service for the full billing period you've already paid for. Since you continue to receive the service, Roku does not typically issue prorated refunds for the unused portion of a billing cycle.
Is there a monthly fee for my Roku device itself?
No. Your Roku TV or streaming stick does not come with a monthly subscription fee. The only charges you incur are for the specific streaming services you subscribe to (like Netflix, Hulu, HBO Max, etc.) and any movies or TV shows you rent or buy. Your device itself is a one-time purchase.
What if I can't find "Manage Subscription" when I press the Star (*) button?
If you highlight a channel and press the Star (*) button, but "Manage Subscription" isn't an option, there are a few possibilities:
- It's not a Roku-billed subscription: You likely subscribed directly with the service provider. Refer to the first point in this FAQ.
- It's a free channel: Some channels are entirely free and require no subscription.
- The channel isn't active: Ensure the channel is still installed and accessible on your Roku. Sometimes issues can arise if a channel has been removed or is undergoing updates. Try removing and re-adding the channel if you suspect a glitch, then try again.
- You're on the wrong account: Double-check that your Roku device is linked to the same Roku account you used to subscribe. If you have multiple Roku accounts, this could be the culprit.
What if I accidentally "Turned Off Auto-Renew" for a service I want to keep?
No worries! Since the cancellation only prevents future billing, you can easily reverse this.
Your Action: Simply go back to the "Manage Subscription" section for that channel (either on your device or Roku.com) and look for an option to "Resume Subscription" or "Turn On Auto-Renew." You should be able to re-enable it before your current billing cycle ends, ensuring continuous service. You can review the status of all your Roku subscriptions at any time.
A Smart Move: Why Regularly Managing Your Subscriptions Matters
In today's streaming landscape, it's incredibly easy to accumulate subscriptions. A free trial here, a must-see show there, and suddenly you're paying for five different services when you only actively use two. Regularly reviewing and managing your subscriptions isn't just about saving a few dollars; it's about being intentional with your entertainment choices and ensuring your money is spent on content you truly value.
By knowing how to cancel Roku-billed subscriptions directly on your device (or via the web), you gain peace of mind and the power to control your digital entertainment budget. Make it a habit to check your "My Subscriptions" page on Roku.com once every few months. It's a quick audit that can make a big difference, freeing up funds for other priorities, or simply ensuring you're not paying for ghost subscriptions. Stay savvy, stay entertained, and stay in control.