When you're ready to declutter your digital life or simply cut down on monthly expenses, canceling a Roku subscription should feel straightforward. Yet, many users find themselves navigating a labyrinth of menus and conflicting information, leading to common frustrations like "Where's the cancel button?" or "Why am I still being charged?" This guide is your definitive resource for Troubleshooting Common Issues When Cancelling Roku Subscriptions, designed to cut through the confusion and put you back in control.
No one wants to pay for a service they no longer use, and understanding how to correctly cancel your Roku subscriptions is key to avoiding those unwanted charges. The trick often lies in figuring out who is actually billing you for the service, as Roku acts as a platform for many different content providers.
At a Glance: Your Quick Cancellation Checklist
- Roku-Billed? Head to my.roku.com/subscriptions. This is your first stop for anything billed directly by Roku.
- Apple or Google-Billed? Cancel directly through your Apple App Store or Google Play Store subscription settings.
- Third-Party Direct? If you signed up on a streaming service's own website (e.g., Netflix, Hulu directly), you must cancel there.
- No "Cancel" Option? This almost always means it's not billed by Roku.
- Still Being Charged? Double-check your billing source, then contact Roku support if it's a Roku-billed issue.
- Timing is Key: Cancel before your next renewal date to prevent further charges. You'll usually keep access until the end of your current billing period.
The Crucial First Step: Understanding Who's Billing You
The single most common source of confusion when trying to cancel a Roku subscription stems from understanding the billing source. Roku itself is a platform, and while it bills for some channels and services, many others are billed directly by third parties, Apple, or Google. Think of Roku as a mall; you might buy some items directly from the mall's general store, but most items come from individual shops within the mall, and you deal with those shops directly if there's an issue.
Before you even start clicking, ask yourself:
- Did I sign up for this service directly on the Roku device or website (my.roku.com)?
- Did I subscribe via an app on my iPhone or iPad?
- Did I subscribe via an app on my Android phone or tablet?
- Did I sign up on the streaming service's own website, not through Roku?
Your answer dictates where you need to go to cancel. Getting this right from the start saves you a lot of headache.
How to Cancel: Step-by-Step Guides for Every Billing Method
Once you've identified your billing source, follow the relevant guide below. We'll start with the most common scenario: Roku-billed subscriptions.
Canceling Roku-Billed Subscriptions (Desktop or Mobile Browser)
If you signed up for a service directly through your Roku device or via Roku's website, Roku is handling the billing. This is the most straightforward scenario for canceling directly through your Roku account.
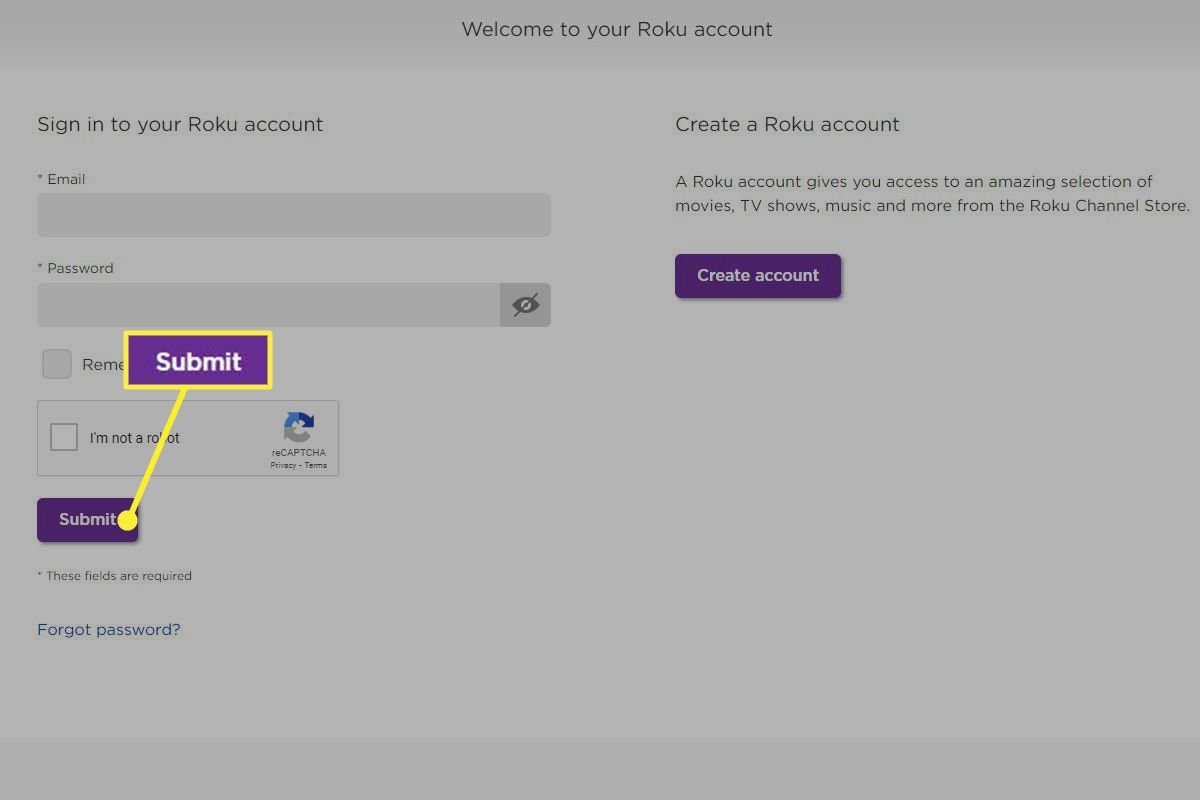
- Access Your Roku Account: Open a web browser (on your computer or mobile device) and go to my.roku.com/subscriptions.
- Sign In: Use the email address and password associated with your Roku device. This is crucial—if you have multiple Roku accounts, ensure you're logging into the correct one. (To verify the email associated with your device, go to your Roku device's Home screen > Settings > System > About).
- Locate "Active Subscriptions": Once signed in, you'll see a section titled "Active Subscriptions." This lists all services currently billed through Roku.
- Manage Your Subscription: Find the specific subscription you wish to cancel. Click on the "Manage Subscription" button (the exact wording might vary slightly, but it will be something similar).
- Turn Off Auto-Renew/Cancel: You should see an option to "Turn off auto-renew" or simply "Cancel." Select this option.
- Confirm Cancellation: Roku will likely ask you to confirm your decision, perhaps with a brief survey or a final "Are you sure?" prompt. Confirm to finalize the cancellation.
- Confirmation & Verification: You should receive a confirmation email shortly after successful cancellation. It's a good practice to check your "Expired/Inactive" subscriptions section on my.roku.com/subscriptions to ensure the service now appears there.
What to Expect: Your access to the service will continue until the end of your current billing period. For example, if you cancel a monthly subscription on January 15th, and your billing period ends on January 31st, you'll still have access until January 31st, and you won't be charged again on February 1st.
Canceling Subscriptions Billed via Apple App Store (iOS Devices)
Many people subscribe to services through their iPhones or iPads, where Apple handles the billing. If you signed up this way, Roku cannot directly cancel or refund your subscription; you must go through Apple.
- Open Settings: On your iPhone or iPad, tap the "Settings" app icon.
- Access Apple ID: Tap on your name/Apple ID at the very top of the Settings menu.
- Go to Subscriptions: Tap "Subscriptions." You might need to authenticate with Face ID, Touch ID, or your Apple ID password.
- Find the Subscription: Scroll through your active subscriptions and locate the Roku-related service you want to cancel.
- Cancel Subscription: Tap on the subscription, then tap "Cancel Subscription."
- Confirm: Confirm your decision when prompted.
Remember: If you don't see the subscription listed here, it's either already canceled, or it's not billed through Apple.
Canceling Subscriptions Billed via Google Play Store (Android Devices)
Similarly, if you subscribed using an Android device, Google handles the billing. You'll need to use the Google Play Store app to manage these subscriptions.
- Open Google Play Store: Launch the "Google Play Store" app on your Android device.
- Access Profile Icon: Tap your profile icon (usually in the top right corner).
- Navigate to Subscriptions: Tap "Payments & subscriptions," then select "Subscriptions."
- Select Roku Subscription: Find the Roku-related subscription you want to cancel from the list.
- Cancel Subscription: Tap "Cancel subscription."
- Confirm: Follow the on-screen prompts to confirm your cancellation.
Tip: Just like with Apple, if the subscription isn't here, it's not billed via Google Play.
Canceling Inside the Roku Mobile App (Limited Support)
While the Roku mobile app offers some account management features, it's important to note that it may not support cancellation for all subscriptions. This method is generally less reliable than using the browser for Roku-billed services or going directly to Apple/Google.
- Open Roku Mobile App: Launch the app on your smartphone or tablet.
- Go to Account/Settings: Navigate to the "Account" or "Settings" section (often found by tapping your profile icon).
- Find Subscriptions: Look for a "Subscriptions" option.
- Cancel/Turn Off Auto-Renew: If the option is available for your specific subscription, tap "Cancel subscription" or "Turn off auto-renew."
- Confirm: Follow any on-screen prompts to confirm the cancellation.
Pro Tip: If you encounter any issues or don't see the option, revert to the my.roku.com browser method for Roku-billed services, or Apple/Google for their respective subscriptions.
"I Can't Find The Cancel Button!" Common Troubleshooting Issues Solved
Even with the right steps, you might run into specific roadblocks. Here's how to tackle the most frequent "oops" moments.
Issue 1: There's No "Cancel" or "Manage" Option for My Subscription
This is perhaps the most common frustration, and it almost always points back to the billing source.
The Fix: If you're on my.roku.com/subscriptions and a specific service doesn't have a "Manage" or "Cancel" option, it means Roku is NOT billing you for that service.
- Check Third-Party Direct: Did you sign up for that streaming service directly on their website (e.g., netflix.com, hulu.com, paramountplus.com)? If so, you must log into that specific service's website (or their app) to manage and cancel your subscription.
- Check Apple/Google: Revisit the Apple App Store or Google Play Store steps outlined above. Even if you're sure you didn't, it's worth a quick look.
This understanding is paramount: if Roku isn't the biller, Roku can't be the canceller.
Issue 2: My Subscription Isn't Showing Up In My Roku Account List At All
You've logged into my.roku.com, but the subscription you want to cancel isn't even listed under "Active Subscriptions."
The Fix:
- Verify the Correct Roku Account: This is critical. Many users have more than one Roku account, perhaps from an old device, or a family member created one.
- On your Roku device, go to Home > Settings > System > About. Note the email address displayed there.
- Ensure you are logged into my.roku.com with that exact email address. If you're not, sign out and sign back in with the correct account. Often, the missing subscription reappears.
- Re-check Other Billing Sources: If it's still not there, it's definitively not Roku-billed. Refer back to the Apple, Google, or direct third-party cancellation steps.
Issue 3: I Canceled, But I'm Still Being Billed!
This is a serious concern and needs immediate attention.
The Fix:
- Double-Check Cancellation Status: Log back into my.roku.com/subscriptions, or your Apple/Google subscription settings. Is the service truly listed as "Expired/Inactive" or "Canceled"? Sometimes a confirmation step is missed.
- Review Your Bank/Credit Card Statement: Look closely at the charge. Does the merchant name clearly say "Roku" or the specific streaming service? Sometimes similar charges from different services can be confusing.
- Contact Roku Support (If Roku-Billed): If you've confirmed it's a Roku-billed subscription, it's canceled on your Roku account, and you're still being charged, you need to contact Roku support.
- Go to Roku's "Contact Us" section.
- Navigate to the "Account & Payments" route, specifically choosing "Question About a Charge." Be prepared with your Roku account email, the charge amount, date, and any cancellation confirmation emails you received.
Issue 4: I Didn't Receive a Confirmation Email After Canceling
You went through the steps, clicked "Confirm," but your inbox is empty.
The Fix:
- Check Spam/Junk Folder: This is often the culprit. Search your email's spam or junk folder for messages from Roku or the service provider.
- Verify Account Status: The most reliable confirmation is checking your subscription status directly.
- For Roku-billed, log into my.roku.com/subscriptions and confirm the service now appears under "Expired/Inactive Subscriptions."
- For Apple/Google, check their respective subscription lists to see if the service is marked as canceled or set to expire.
If the status shows canceled, you're good, even without the email.
Issue 5: Regional Differences in Interface or Requirements
Roku's interface and subscription management can vary slightly depending on your country.
The Fix: While the core steps remain the same (identifying the biller and going to the correct portal), don't be alarmed if the exact wording of buttons or the sequence of prompts differs slightly from what's described. The underlying logic of "manage subscriptions" or "turn off auto-renew" will always be present. If in doubt, look for clear cancellation options.
Need Direct Help or Have a Dispute?
If you've exhausted these troubleshooting steps and are still stuck, or if you have a dispute about a charge, it's time to reach out to the relevant support team.
- For Roku-Billed Issues: Use Roku’s dedicated "Contact Us" portal. Navigate to the "Account & Payments" section, specifically choosing "Account, payments & subscriptions" for tailored assistance.
- For Apple-Billed Issues: Contact Apple Support.
- For Google-Billed Issues: Contact Google Play Support.
- For Third-Party Direct Issues: Contact the specific streaming service's customer support directly (e.g., Netflix support, Hulu support).
What Happens After You Hit "Cancel"? Dispelling Common Myths
Successfully canceling a subscription isn't always the end of the story. Here's what you can generally expect:
- Billing Stops, Access Continues: When you cancel, future auto-renewals are disabled. However, you typically retain access to the service until the end of your current paid billing period. So, if you paid for the month of January, you'll still have access until January 31st, even if you cancel on January 5th.
- No Refunds for Unused Time: Roku, like most subscription services, generally does not issue refunds for partial or unused portions of a billing period after you cancel. Your cancellation simply prevents future charges. This is consistent across the industry.
- Subscription Data May Remain: Your preferences, watch history, and account settings for that service might remain stored. This is often by design, making it easier for you to reactivate the service instantly at a later date if you choose.
- Reactivation is Easy: If you change your mind, reactivating a previously canceled Roku-billed subscription is usually straightforward. You can typically do this from my.roku.com/subscriptions under the "Expired/Inactive" section.
- Canceling Your Roku Account Entirely: If your goal is to close your entire Roku account, you must first cancel all active subscriptions tied to that account. Only after all subscriptions are inactive can you proceed with account closure, if such an option is available. For more detailed instructions on how to handle your subscriptions on the Roku platform, you can check out our comprehensive guide on how to cancel Roku subscriptions.
Proactive Steps for Smoother Cancellations in the Future
While you've mastered troubleshooting, a little foresight can prevent future headaches:
- Note Your Billing Source: Whenever you sign up for a new streaming service on Roku, make a quick mental (or actual) note of how you subscribed. Was it through Roku? Apple? Google? Direct? This single piece of information is gold.
- Review Bank Statements Regularly: Keep an eye on your bank or credit card statements. Unfamiliar charges can flag forgotten subscriptions that need canceling.
- Set Calendar Reminders: If you sign up for a free trial and know you want to cancel, immediately set a calendar reminder a day or two before the trial ends. This ensures you cancel before you're charged.
- Use Strong, Unique Passwords: Protect your Roku account and other subscription services with strong, unique passwords to prevent unauthorized access and subscription changes.
Your Roku Cancellation Checklist: A Final Word of Empowerment
Dealing with forgotten subscriptions or tricky cancellation processes can feel overwhelming, but it doesn't have to be. By understanding the critical role of the billing source – whether it's Roku, Apple, Google, or a third-party provider – you gain the clarity needed to navigate any cancellation challenge.
You now have the tools and knowledge to troubleshoot the most common issues when canceling Roku subscriptions, from locating elusive cancel buttons to verifying account details and contacting the right support channels. Take a deep breath, follow these steps, and reclaim control over your digital subscriptions and your budget. You've got this.